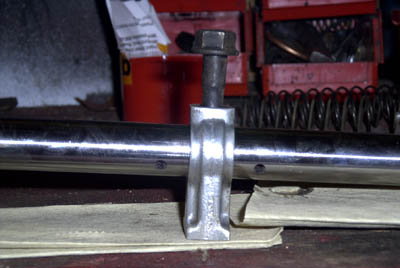
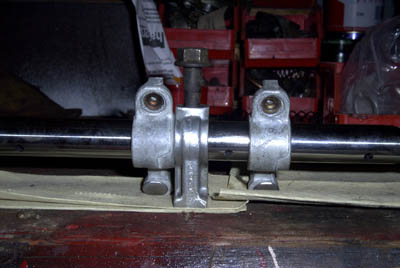
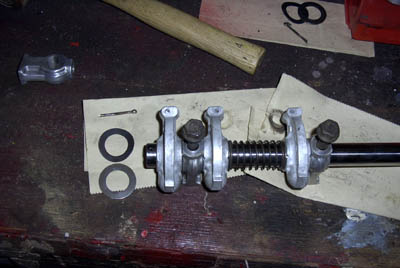
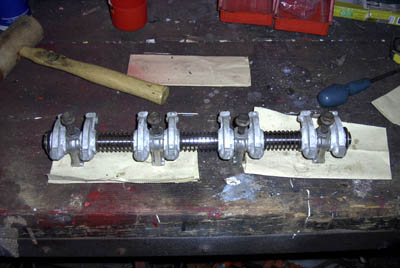
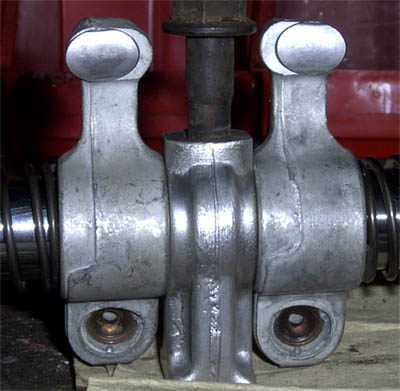
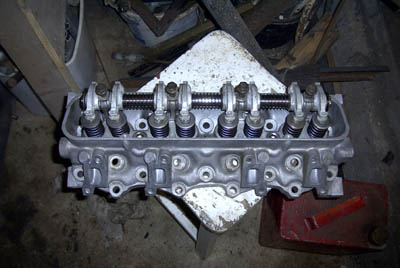
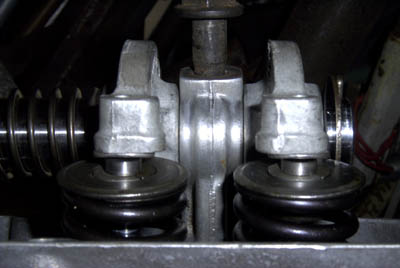
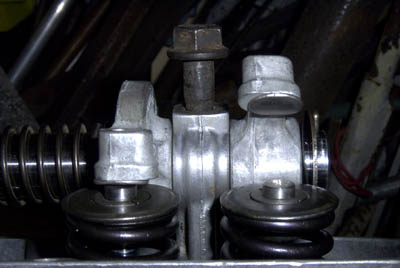
Assembling rocker shafts

Well as they say a picture tells a thousand words so I've put together some photos of me rebuilding my rocker gear, it might come in useful, And save some of you a few phone calls, By the way thank Holley and Chris for your help dealing with the likes of me.
Ok its important to get the oil feed holes on the new shafts in the correct orientation as you can see from the picture with one of the posts in place the oil feed holes should point downward.
   
Ok now slid on some rocker arms. Please note that the rocker arms are sided in relation to the rocker post. Looking at the pad that will eventually be in contact with the value you can see this. Again note that the oil feed hole is pointing down bank, and is on the opposite side of the shaft then the rocker arm pad that touches the value. Just look at the photo.
   
Another way to get the correct handed rocker arm in the correct place is to note the small hole in the tip of the rocker arm , This should point away from its adjacent rocker post. Also here you can see that the separator spring has been fitted.
   
ok our completed rocker shaft. Please note when fitting the thrust and normal washers to each end, place the dished piece of the thrust washer against the rocker arm and then slide on the normal washer, finally secure in place with the split pin.
   
This is just a good photo showing how the rocker arms are sided.
   
Ok here is a trial fit on one of these lovely RPI stage 1 heads. :-)
   
This is just to show how the pads on the end of the arms locate on the valves.
   
Speaks for it's self really
   
Thanks and hope this helps